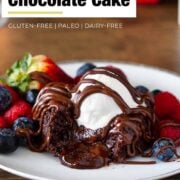
This healthier chocolate lava cake is gluten-free and Paleo, made with almond flour, and has a rich molten center. It comes together in about 30 minutes without added sugar or sweeteners, serves two, and can be baked in a mug or ramekins.
Recipe at a glance
- What it is: A warm chocolate cake with a molten center and a lighter, chewy, brownie-like texture, made with healthier ingredients and inspired by the classic.
- Ready in: 30 minutes
- Serves: 2
- Diet notes: Gluten-free, Paleo, dairy-free, grain-free
- Why you'll love it: It's quick to make in two bowls and feels special, perfect for date night or a last-minute chocolate craving.
☆ Featured Review
This is one of my favorite recipes on your blog! My husband requests this regularly. I've entertained with it and everyone loves it. Absolutely delicious and so easy to make!!!
- Sarah
Jump to:
I've tested and shared a lot of chocolate desserts over the years, and this lava cake has become one of my favorites. It reflects how I approach healthier baking: keep the flavor, lighten the ingredients, and never compromise on texture.
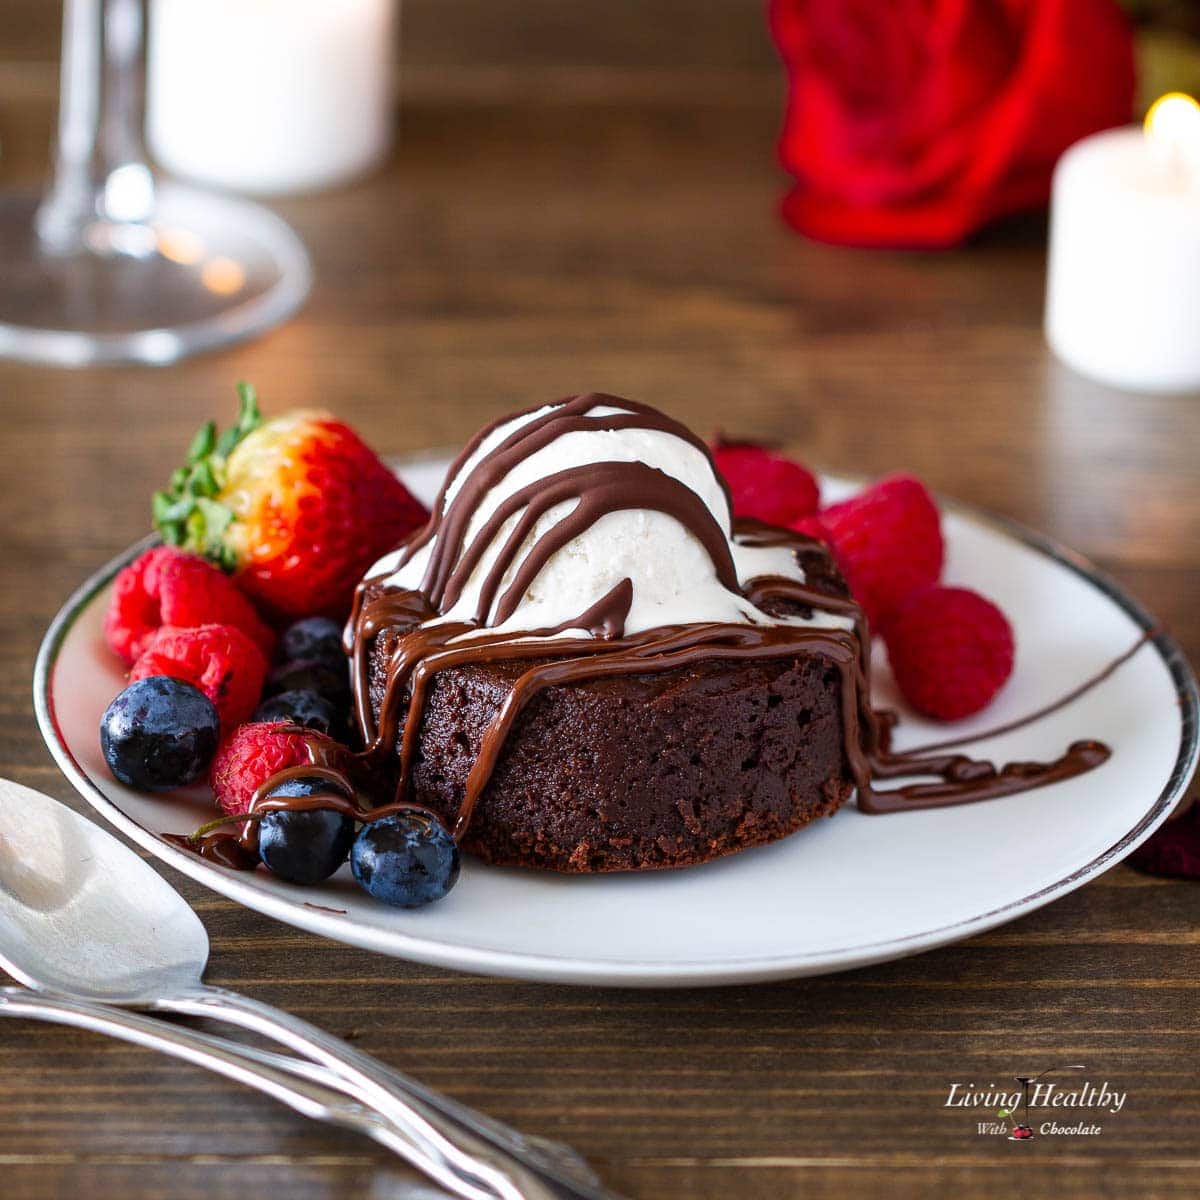
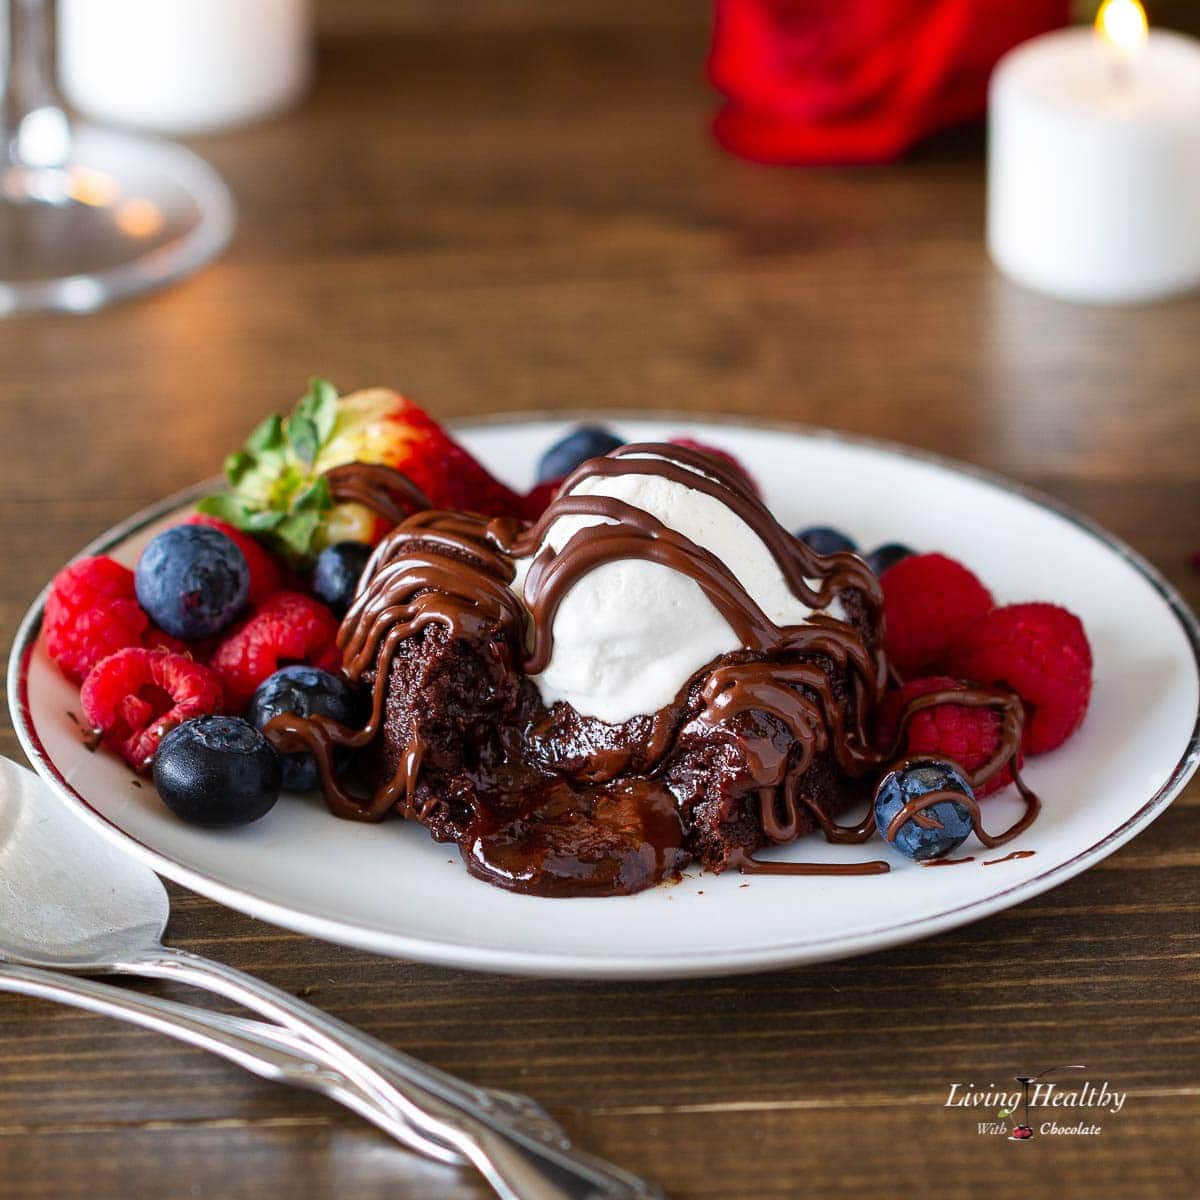
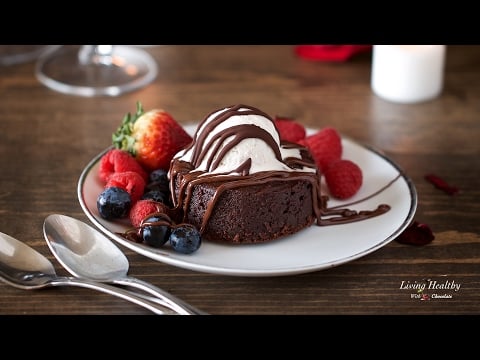
The cake is incredibly moist, with a warm, molten center that melts in your mouth. It's quick to make, comforting, and feels special, which is why I'm sharing it as a Valentine's Day recipe.
Best of all, it doesn't need any added sugar or sweeteners. Top it with my dairy-free caramel ice cream, a drizzle of melted chocolate, and dig in.
Why readers love this recipe
Readers who've made this lava cake love that it's not overly sweet, delivers a rich chocolate flavor with a gooey center like the classic, and fits gluten-free and Paleo lifestyles. They also love that it's made in two bowls, which makes cleanup easier.
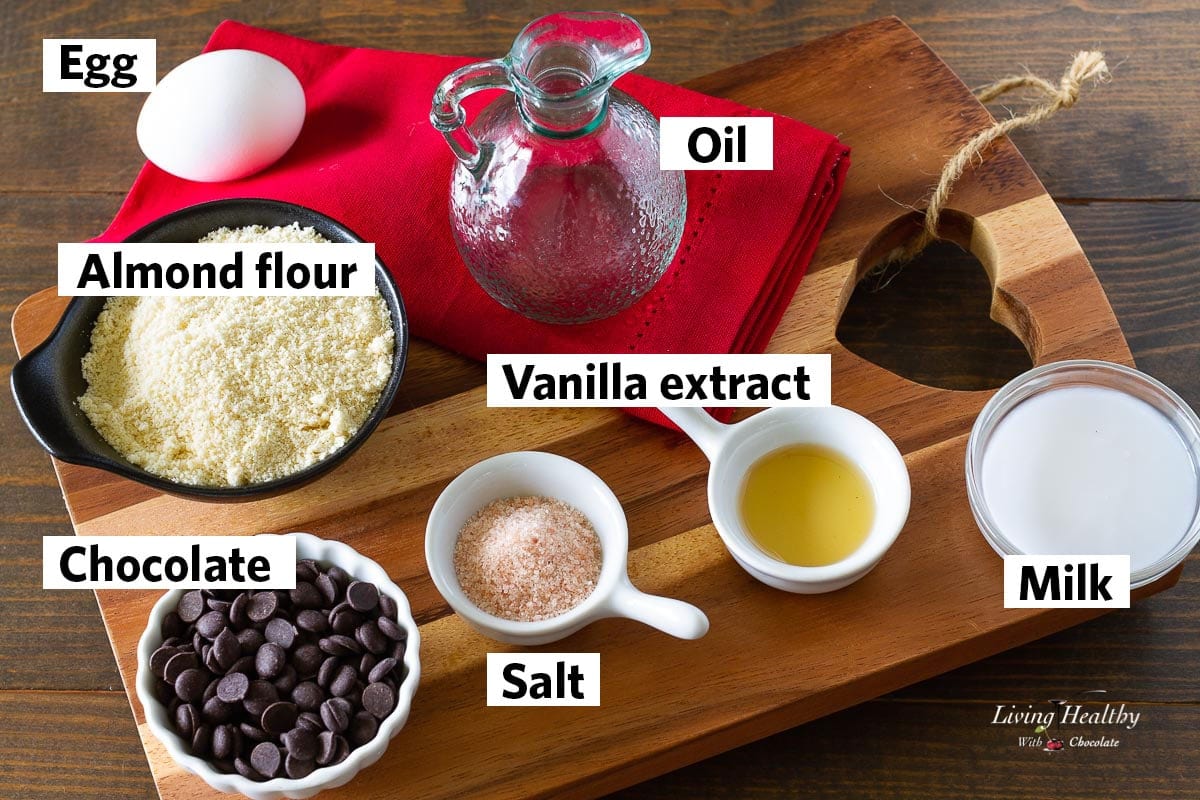
Ingredients you'll need
To make this chocolate lava cake for two, you'll need just five main ingredients, plus vanilla extract and salt to bring out the flavors. Below are a few helpful notes. Scroll to the recipe card at the bottom of the page for exact quantities.
Dark chocolate
The key to making this recipe without added sugar is using chocolate with 55-60% cacao. Most semi-sweet chocolate falls in this range and provides enough sweetness while keeping the center molten.
My favorite dairy-free, soy-free brands are Enjoy Life, Pascha, Equal Exchange, and Santa Barbara Chocolate.
I use chocolate chips here, but a chopped chocolate bar works just as well.
Tips:
- To make this recipe low-carb or Keto: use 70-100% dark chocolate.
- To make it sweeter: add a sweetener of your choice to the batter. About ⅓ cup works well, depending on the sweetener you use.
Almond flour
Finely ground, blanched almond flour works best in this recipe, giving the lava cake a fudgy, brownie-like texture and a subtle nutty flavor.
It also keeps the cake gluten-free, grain-free, and Paleo-friendly.
Coconut oil
Lava cake without butter? Yes, no butter is needed. Coconut oil works really well here, adding richness while keeping the recipe dairy-free.
If you don't enjoy the taste of coconut, refined coconut oil is neutral, and even unrefined coconut oil won't make the cake taste like coconut.
Butter also works, or you can use other dairy-free options like avocado oil or palm shortening.
Quick note:
- Measuring ingredients: For best results, measure your ingredients by weight using a kitchen scale.
- Scaling the recipe: This recipe makes two individual servings and can easily be doubled or tripled.
Ingredient substitutions
I designed this recipe to work best as written, but since I get a lot of questions about substitutions, here's what you can expect if you make changes.
Eggs: can I make this without eggs?
Replacing the egg will change the texture. You can try aquafaba to bind the batter, but the center may not stay molten. A workaround is placing a chunk of chocolate in the center before baking so it melts when cut.
Flour: can I swap the flour?
Almond flour is key to the texture of this lava cake. Coconut flour won't work here.
To keep the recipe gluten-free, you can test oat flour or a gluten-free flour blend, but both absorb more liquid, so start with less than the recipe calls for and adjust slowly so the batter matches the consistency shown in the recipe video.
Milk: what else works?
I use full-fat coconut milk from a can with at least 12 g of total fat for richness and moisture. You can substitute another milk with a similar fat content, but lower-fat options will give a less rich result.
Kitchen tools you'll need
These are the basic tools you'll need to make this lava cake:
- Mixing bowl
- Whisk
- Heatproof bowl (for melting the chocolate)
- Saucepan (for the double boiler)
- Ramekins, oven-safe mugs, or muffin pan
- Baking dish or roasting pan (for the water bath)
- Spatula or small knife (for unmolding)
A quick note: You can bake these lava cakes in single-serve ramekins, an oven-safe mug, or a muffin tin. I like using small 4-ounce ramekins since they're the right size and easy to flip onto plates, but muffin tins work well too if you're making a bigger batch.
Baking time can vary depending on the size of your ramekins and how your oven runs, so a quick test batch is a good idea before serving.
How to make this lava cake (step-by-step)
Here's a quick look at how this lava cake comes together, step by step.
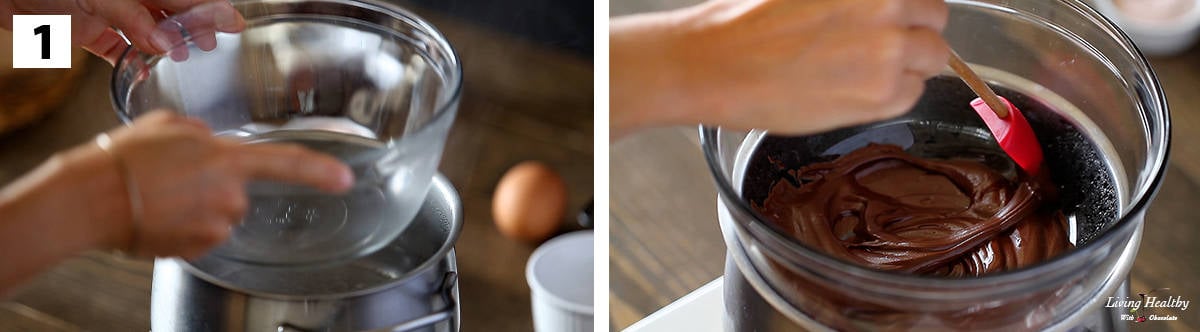
- Step 1: Melt the chocolate. Set up a double boiler with about ½ inch of gently simmering water. Place a heatproof bowl on top, making sure it doesn't touch the water, and melt the chocolate slowly over low heat.
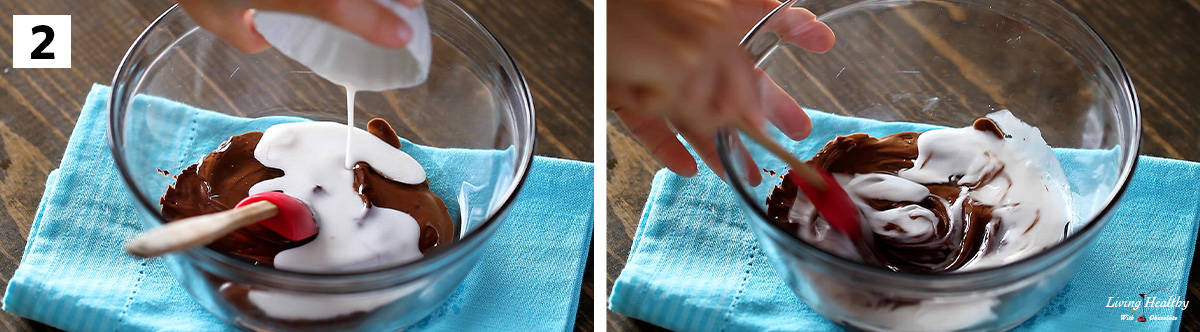
- Step 2: Add the oil and milk. Remove the bowl from the heat, then stir in the oil and milk until smooth and fully combined.
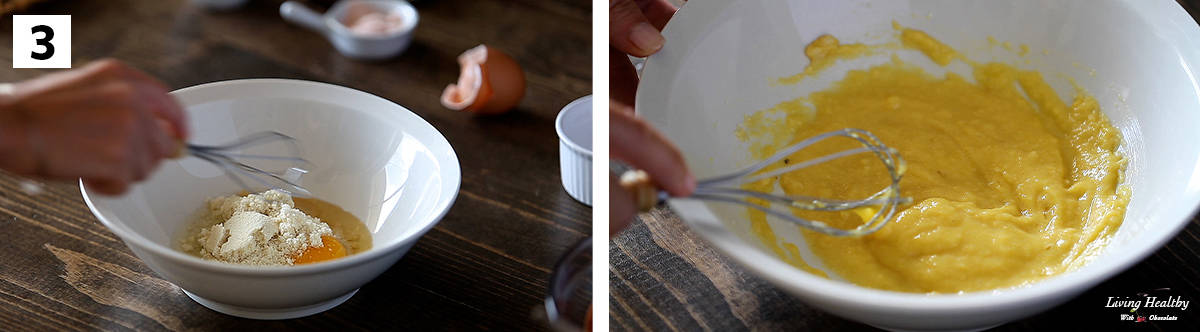
- Step 3: Prepare the batter. In a separate bowl, whisk together the egg, vanilla, salt, and almond flour until smooth.
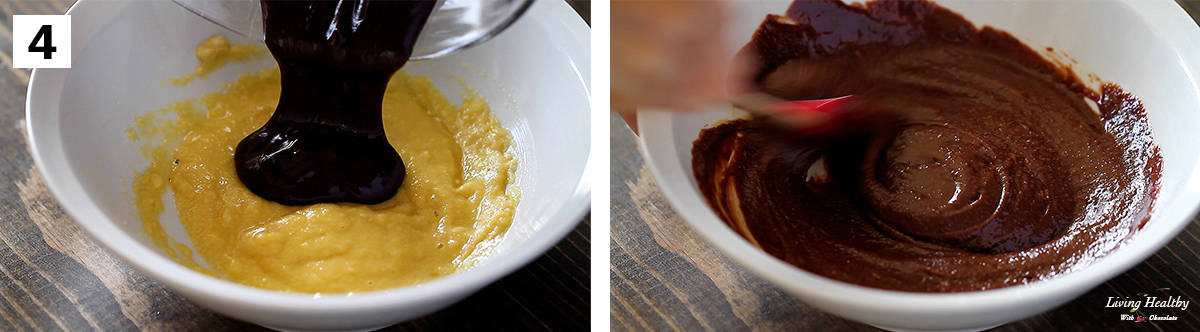
- Step 4: Add the melted chocolate. Pour the melted chocolate into the bowl and mix until the batter is smooth and fully combined.
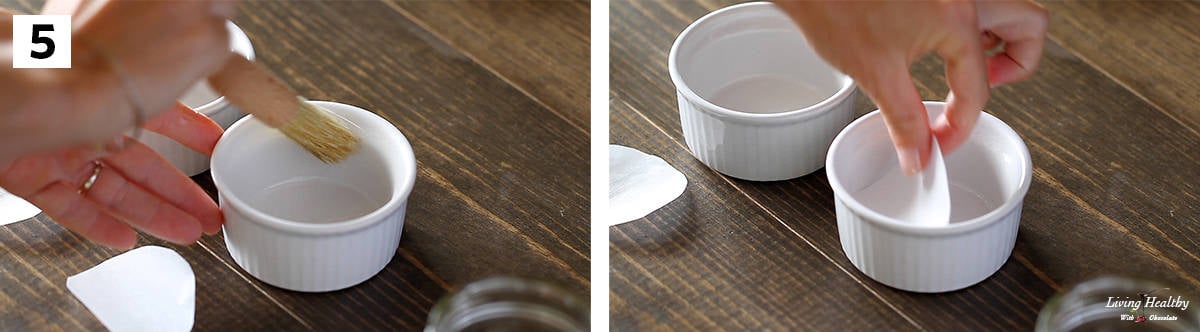
- Step 5: Prepare the ramekins. Grease each ramekin with coconut oil and place a piece of parchment paper on the bottom.
Tip:
For easy release, grease the ramekins well and line the bottoms with parchment paper cut to fit. Once baked, the cakes lift right out. If you'd rather skip the parchment, dust the greased ramekins with cocoa powder instead.
How to get a molten center
This extra step helps keep the centers soft and molten by slowing the baking around the cakes.
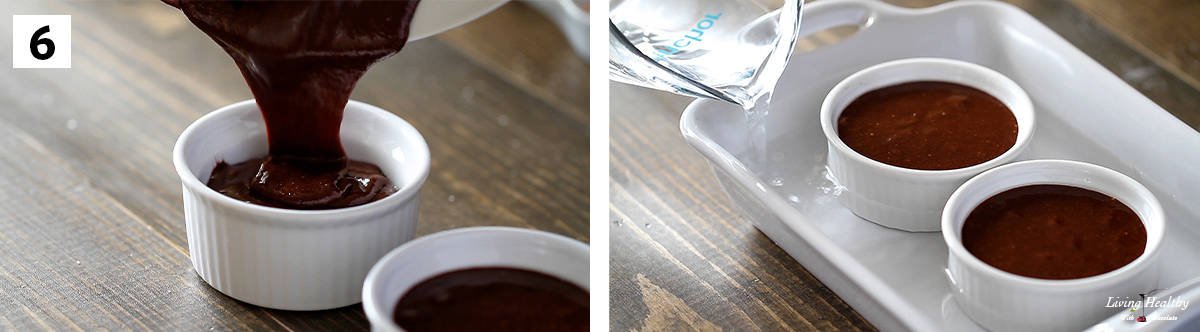
- Step 1: Hot water bath. Fill each ramekin about ¾ full with batter. Place the ramekins in a deep baking dish or roasting pan, then carefully pour hot water into the pan until it comes about halfway up the sides of the ramekins.
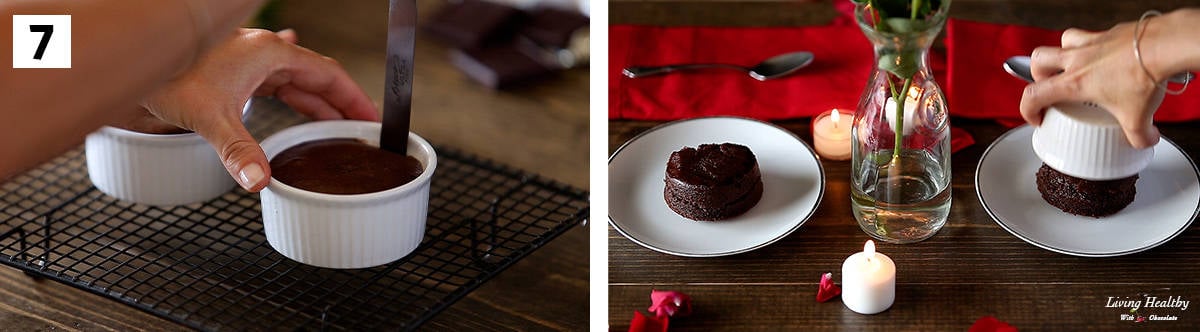
- Step 2: Bake and unmold. Bake in a preheated 375°F oven. Remove the ramekins from the water bath and let them cool on a wire rack for 5 minutes. Run a small spatula or knife around the edges to loosen, then carefully flip the cakes upside down onto plates.
Why this works: The high oven temperature sets the edges quickly, keeping the centers soft and molten.
What to serve it with
These warm lava cakes are great on their own, but even better with a few simple toppings. I usually serve mine with ice cream and a drizzle of melted chocolate.
- Dairy-free vanilla ice cream
- Hot fudge or caramel sauce
- Fresh berries like strawberries or raspberries
- Melted peanut butter
- Mini chocolate chips
- A dusting of cocoa powder
Frequently asked questions
Once baked, you can store the lava cakes in an airtight container in the fridge for a few days. To reheat, warm them in a 350°F oven for about 8-10 minutes, or microwave in short bursts until just warmed through. The centers won't be as molten after reheating, so these are best enjoyed fresh.
Lava cake is meant to be served warm, straight out of the oven, so the center stays molten and flowing. That said, you can enjoy it cold. Straight from the fridge, the center turns fudgy, almost like a brownie, and it's still moist and delicious.
Yes, you can make lava cake ahead of time. Prepare the batter, divide it between ramekins, cover each one, and refrigerate for up to 3 days. When you're ready to bake, let the ramekins sit at room temperature for a bit, then bake as directed.
Yes, you can make lava cake without an oven. A microwave, air fryer, slow cooker, or Instant Pot can work, though timing will vary depending on the appliance and the size of the ramekins. If you go this route, it's best to test one first before serving, since each method heats differently.
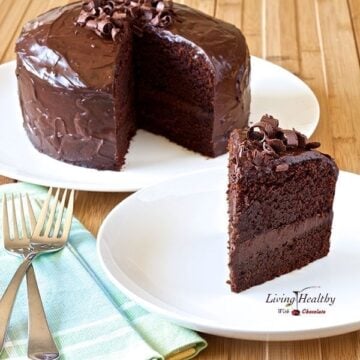
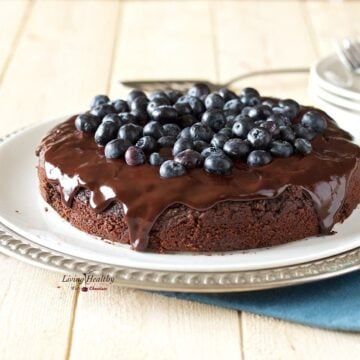
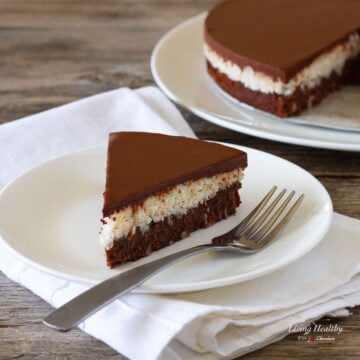
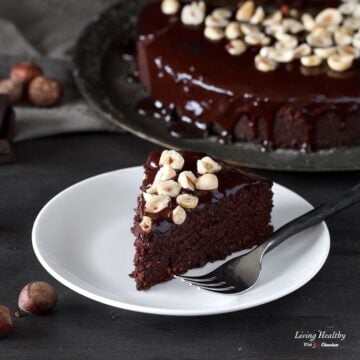
More gluten-free cake recipes you'll love
If you love this lava cake, here are a few more gluten-free and Paleo chocolate cake recipes to try next:
Did you make this recipe?
Leave a rating, drop a comment, and share a photo of your cake below. I love seeing how yours turns out. For more recipes, subscribe to my newsletter and follow along on YouTube, Facebook, Pinterest, and Instagram.
📖 Recipe
Healthy Chocolate Lava Cake
Ingredients
- 3 ounces semisweet chocolate chips, 50-60% cacao
- 2 tablespoons (24g) coconut oil, melted
- 2 tablespoons (31g) full-fat coconut milk
- 1 egg, room temperature
- ½ teaspoon vanilla extract
- pinch fine Himalayan salt
- 4 tablespoons (28g) blanched almond flour
Instructions
- Preheat the oven to 375°F. Grease the bottoms and sides of two 4-ounce ramekins with coconut oil, then cut parchment paper to fit and place it in the bottom of each ramekin.
- Melt the chocolate in a heatproof bowl over gently simmering water (a double boiler). Once melted, remove the bowl from the heat and stir in the coconut oil and coconut milk until smooth.
- In a separate bowl, whisk together the egg, vanilla, salt, and almond flour. Using a spatula, gently fold in the chocolate mixture until the batter is smooth.
- Divide the batter evenly between the prepared ramekins and place them in a deep baking dish. Carefully pour hot water into the dish until it reaches about halfway up the sides of the ramekins.
- Bake for about 17 minutes, or until the edges are set but the center is still soft. Remove the ramekins from the water bath and let them cool on a wire rack for 5 minutes. Run a knife around the edges to loosen, then carefully invert onto serving plates.
Notes
- Low-carb/Keto option: Use 70-100% dark chocolate.
- Sweeter option: Add a sweetener of your choice to the batter. About ⅓ cup works well, depending on the sweetener.
- Chocolate swaps: I use chocolate chips here, but a chopped chocolate bar works just as well.
- Measuring: For best results, measure ingredients by weight using a kitchen scale.
- Scaling: This recipe makes two servings and can easily be doubled or tripled.
- Baking vessels: Use small 4-ounce ramekins, an oven-safe mug, or a muffin tin.
- Baking time: May vary depending on ramekin size and oven. A test batch is helpful if serving guests.
- Easy release: Grease ramekins well and line the bottoms with parchment, or dust with cocoa powder.
- Storage: Store leftovers in the fridge. Let them come to room temperature for a softer texture, or enjoy them cold for a fudgy, brownie-like center.
- Reheating: Reheat in a 350°F oven for about 10 minutes or microwave briefly.
Nutrition per serving
This recipe was originally published in February 2017 and updated in January 2021 to answer common reader questions. The recipe itself remains unchanged.